
You this functionality through the B2B Admin Tabs. From the Security tab you can manage multiple things, including what roles exist in the system & what particular tasks they can carry out within the portal.
When you access the page, you’re greeted with something that looks like this:

This grid shows the bare minimum amount of roles that are required for our system and they determine what can be viewed/interacted with in a particular scenario. The B2B roles generally determine what transactional and company data can be seen by a particular user.
Expanding the buyer admin role gives you another grid that looks like this:
When you click the “Migrate” button will open a dialog that looks something like this:

Within this expanded view, you can manage what users are in each role and remove them from the roles if necessary. You will also see that there is a Privileges tab in this expanded view, this is a way to control each of the roles and what actions they can carry out.
There are two ways in which you can add a user to a role, the first way is to click the “Add User By Id” button which will bring up a dialog that looks something like this:
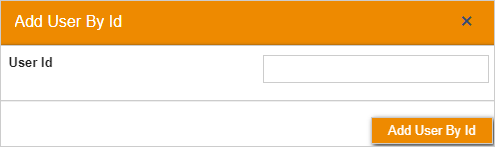
In here, you must enter the user’s Id into the text box and press confirm. If the user’s Id is unknown to you, then you can click on the “Add Users” button that will bring up a dialog that looks something like this:
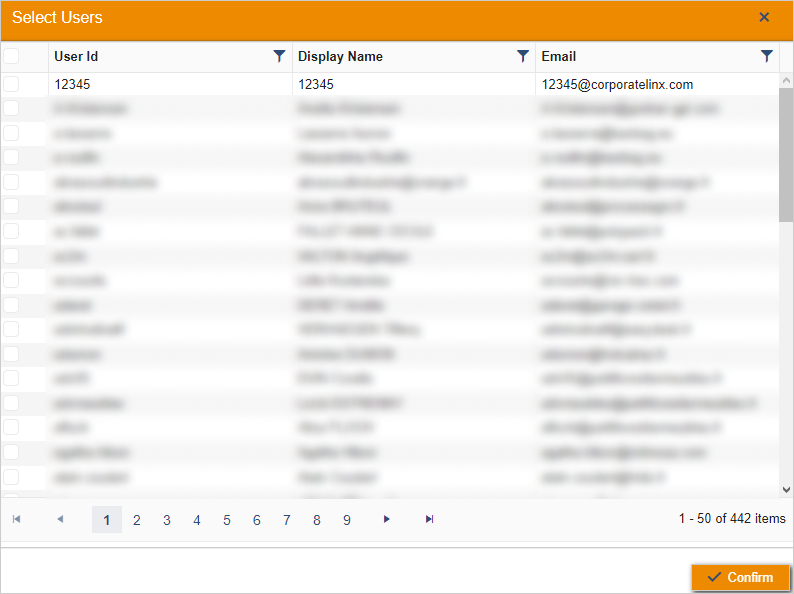
Here you must find the user you wish to add to the role. If you click the filter buttons at the top of the columns, you can search for a specific user which will make it easier to add them to the role you wish to. For example, to add User 12345 to the User’s role here you would select the top row and then click the confirm button. This will then grant the user the privileges associated with that role.
To create a new role in this UI, you click on the “New Role” button in the header bar. Clicking this will bring up a dialog that looks something like this:
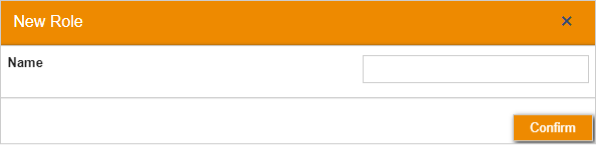
Creating a Role is incredibly simple, only requiring you to add a name to it. Once you’ve filled in this field and clicked confirm, your new role will now exist in the system. You can then begin applying specific privileges to it and add users to it.

For now, I have created a test role to demonstrate how a new one would look within the existing list.
To delete a role that you no longer want or need then you click the “Delete” button that will remove your role and from the our system.
