Corporate LinX - Documentation Library
Accessing our Document Management System
Our Document Management System (DMS) sits under the Admin tab as this is predominantly used by admins.
Once you have successfully logged into the portal, you can access the page by hovering over the “Admin” button in the navigation bar and clicking “Document Management” button.
The UI
When you access the page, you’re greeted with something that looks like this:

At first glance it appears that nothing is there, in order to view the files in a given folder you have to select which folder you want to view. As an example, selecting the “Content” folder on the list on the left hand menu gives you a grid view of what is contained within that folder:
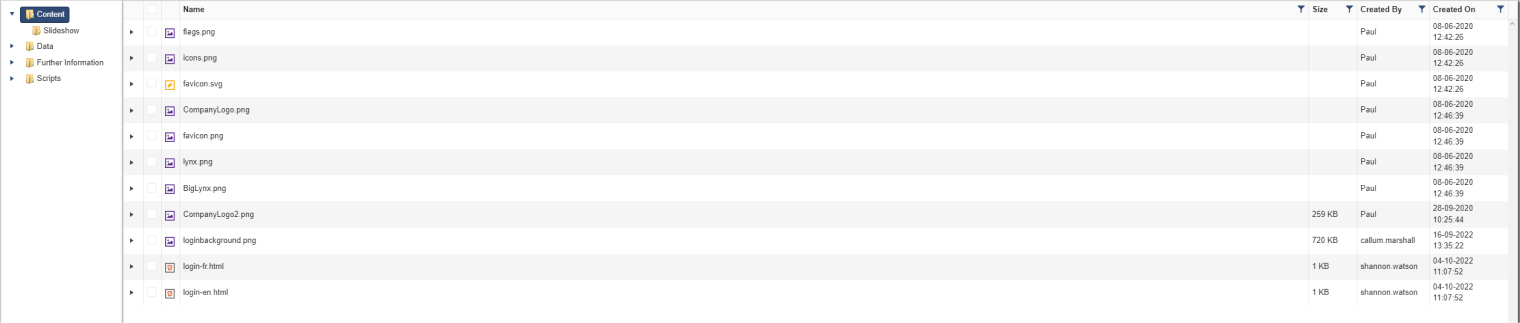
This displays some important information regarding the files in the folder, including the File Name (this will be consistent with the name of the file that’s uploaded). It also displays the Created On and Created By information. This information is particularly useful as you can see when the file was first uploaded to our system and who it was uploaded by.
You may notice that there’s little arrows to the left of the files in the folders, this allows you to expand the file and find out some further information. Expanding the flags file for example, gives you the following expansion result:

It may not be obvious from the screenshot, but this neat bit of the UI allows you to manage the individual versions of the files that have been uploaded. From here you can download them and/or delete them using the command buttons on the appropriate rows.
Uploading Files
Uploading files to DMS is incredibly simple, however, at first it may not be all that obvious how to upload your own files to the system. First you need to have your file ready to upload to the system in your device’s File Explorer. This will look something like this:
To upload this to the content folder in DMS, you have to drag it from your folder into the grid area that displays the files within the folder, this essentially copies it from your File Explorer into our system.

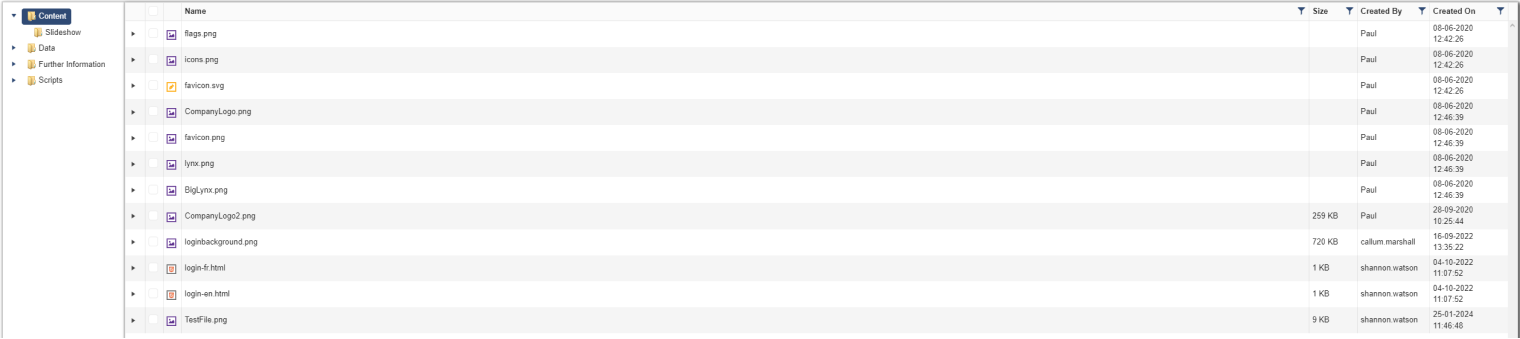
Once you successfully upload your file, the grid will be displayed again and it will contain the file you just uploaded. For example, my “TestFile.png” has now been uploaded to DMS by simply dragging and dropping it and it is now visible in the UI.
Downloading Files
Maybe you want to view the file to see what its contents are, to do this you will have to download it to your device. You need to right click on the file you wish to download and it will bring up a menu that looks something like this:

Clicking the “Download” button in this menu will download the file to your device, allowing you to open it and view its contents.
Renaming Files
It is also possible to rename the files that sit in DMS, to achieve this you right click on the file you want to remove (like you would do to download it) and click the “Rename” button. This will bring up a dialog that will allow you to change the name of your file to whatever you desire. The dialog looks something like this:
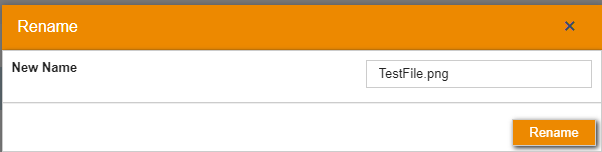
Once you have updated the name in the text box and clicked the “Rename” button, the UI will display the file with the name you have chosen to update it to.
Deleting Files
Another thing you may want to do is remove the files you’ve uploaded, perhaps you uploaded the wrong thing or you just don’t need that particular file anymore. To achieve this you right click on the file you want to remove (like you would do to download it), and click the “Delete” button. On click this removes the file from the system and it will no longer be exist in the DMS UI.