Corporate LinX - Documentation Library
Accessing Calendar Management
Our Calendar Management functionality sits under the Admin tab as this is predominantly used by admins.
Once you have successfully logged into the portal, you can access the page by hovering over the “Admin” button in the navigation bar and clicking “Calendar Management” button.
The UI
When you access the page, you’re greeted with something that looks like this:
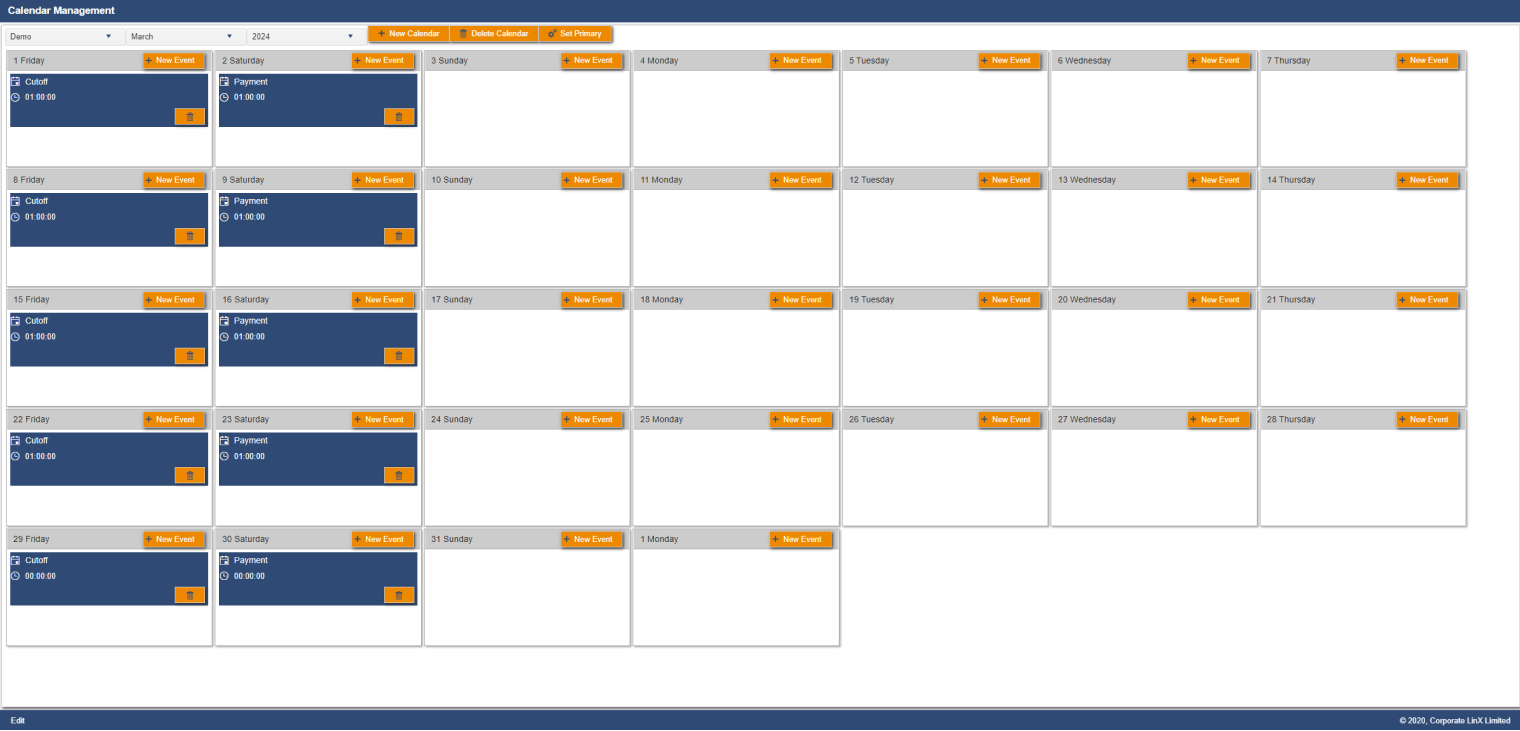
Within this UI, you have the ability to control when cut-off events will happen and set the dates of any payment runs. The calendar event entries display what date they will occur and the time of their occurrence.
In the top left, underneath the header bar you will notice that there are three drop down boxes. The box on the left-hand-side displays the selected calendar, in this case it is the “Demo” calendar that exists on our Demo portal. The middle drop down allows you to select the month you’re interested in or perhaps you want to create an event in a few months time. The right-hand-dialog allows you to select the year you want to display the calendar for, the UI allows you to view your calendars from up to 10 years in the past to 10 years in the future, which can be handy if you want to see how the calendar was set up in a particular period.
Creating a Calendar
You can create a calendar by clicking on the “New Calendar” button in the UI, this will bring up a dialog that looks something like this:
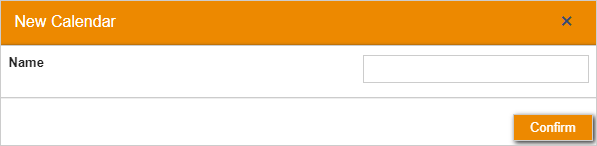
This is a simple dialog, that accepts a name for your new calendar, generally there’s only one calendar needed per portal. However, if they require more than one then it is possible to create a new one which can have its own separate events to any other existing calendars.
Updating a Calendar
Setting a Calendar as Primary
Clicking on the “Set Primary” button will set the selected calendar to the primary calendar in the portal that you’re in.

Once you have set this up, any cut-off events in this calendar are what determines the countdown that is visible on both the Home page and the Accept Offers page of the portal. This is most likely the most used calendar.
Creating an Event
Calendars can have events within them, these are what control the next cut-offs and the payment runs within the system. Both of these things are used during Early Payment Offer generation so it’s imperative that when they’re set up, that they’re set up correctly. Clicking on the “New Event” button will bring up a dialog that looks something like this:
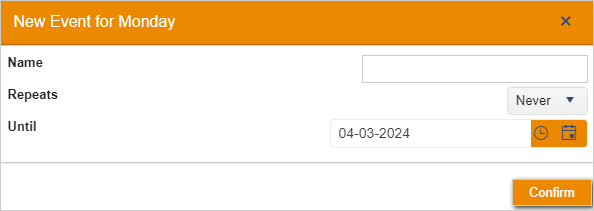
The “Name” should be populated with something that’s relevant to the event you’re creating, if you’re creating a cut-off event then it should be called “Cutoff” and if you’re creating a payment event, then it should be called “Payment”. “Repeats” and “Until” is how you set how frequently you want these events to occur and to what date you want them to repeat. This removes the requirement to manually create events that you want to happen weekly for example. If you want the Cutoff event to occur every Monday until 03-06-2024, you can set the drop down to “Weekly”, when the “Confirm” button is pressed, it will then create a weekly cut-off event every Monday until the 3rd of June.
Deleting an Event
You can delete events from the calendar using the button with the trash can icon.

Clicking this button will remove your event from the system, so if for example you delete a cut-off event there will no longer be a cut off event that occurs on that date at that time.
Deleting a Calendar
Clicking the “Delete Calendar” button in the header (next to the drop downs) will remove your calendar from the system. This is useful if you want to create a new one with a different set of calendar events.
